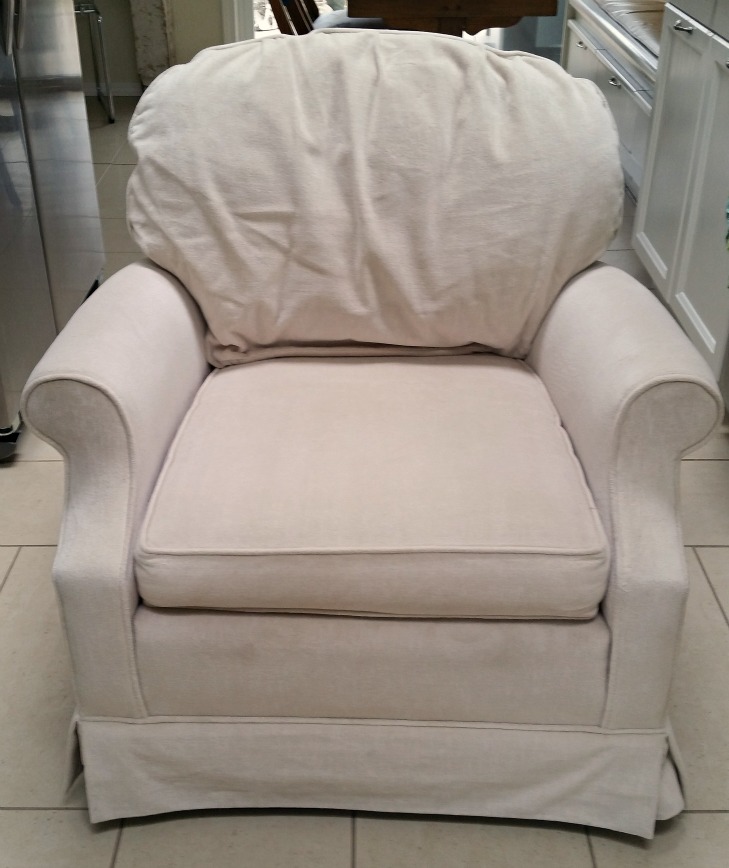
I have always been a fan of Barrymore furniture so I was super stoked when I spotted two matching Barrymore chairs for a steel of a deal at 60 bucks for the pair. Yup, that’s right, $30.00 for a Barrymore. Gotta LOVE IT! Even more incredible was the upholstery was a nice neutral colour and in pretty good condition. This meant there was no need to reupholster, which can be both time consuming and costly. As is, I felt the chairs were ok, but not exactly the look I was after so…
here are a few easy steps I did to update the look of the chair
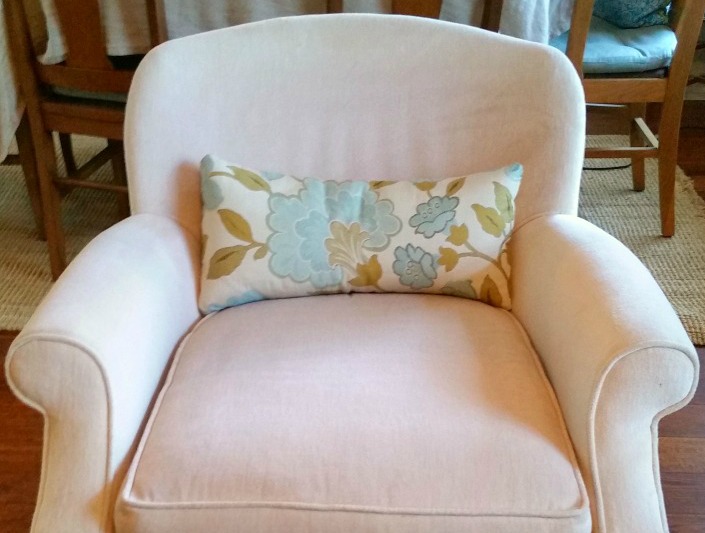
First and by far the easiest step was to remove the back cushion and replace it with a decorative rectangular through pillow. Doing this reveals the tight back, instantly giving the chair a more contemporary streamlined appearance.
Next, I removed the skirting around the bottom edge of the chair.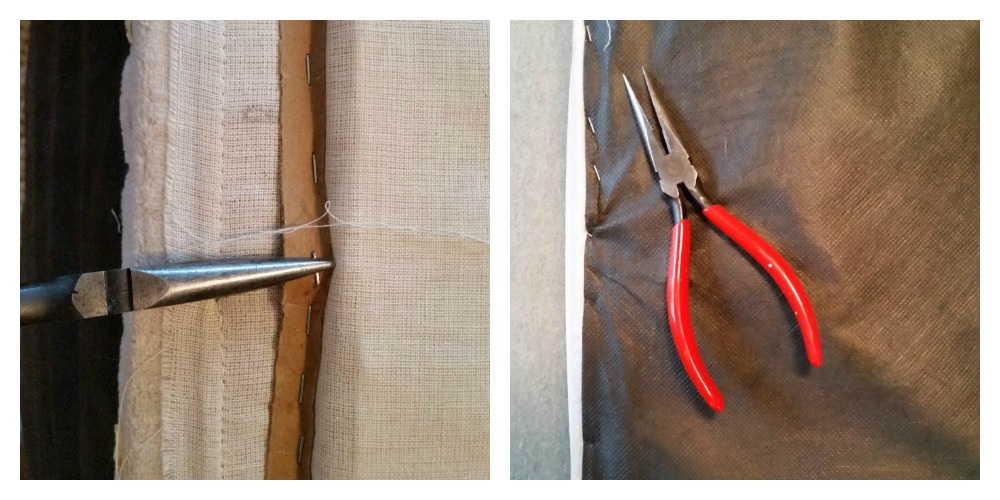 I did this using a pair of needle nose pliers and basically went along the bottom edge pulling staples and removing the tacking strip as I went. While I was busy removing staples, I went ahead and removed the bottom dust cover as well.
With all the skirting off, I removed the liner from the back and the piece (not sure of it’s technical name) that kept the skirt stiff. I was a little gentle as I removed these pieces as I knew I would be reusing the material.
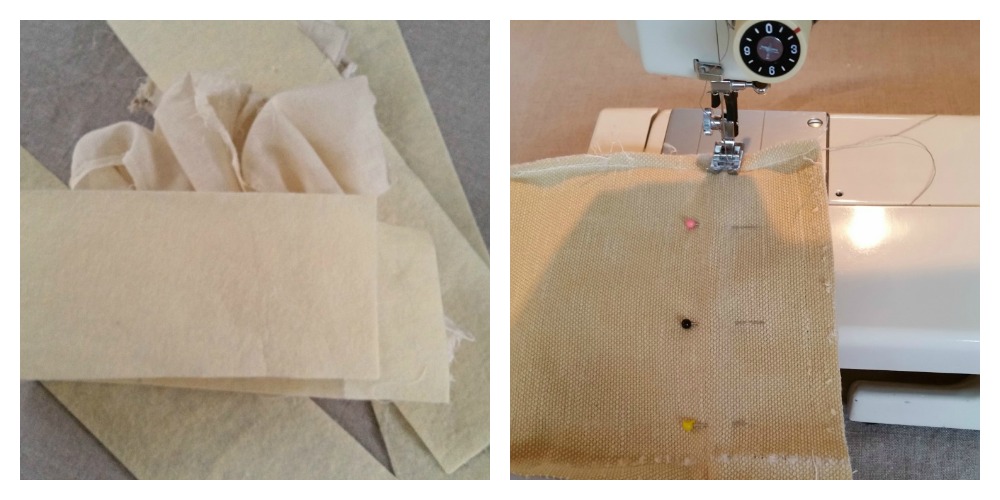
I then pinned the skirting material together making sure it fit snuggly around the base of the chair. Once I was confident the fit was right, I sewed the skirting together to create one continuos piece.
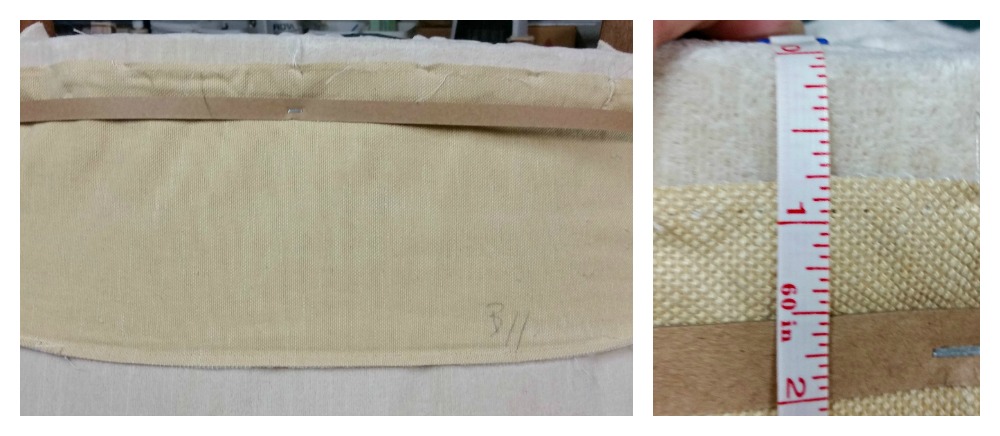
I then put the material snuggly in place around the bottom edge of the chair, inside out, lining up seams as best I could. The use of a tacking strip creates a perfectly straight line when the fabric is folded back over and gives a professional look so it is worth purchasing some or making your own with some thin cardboard. After measuring carefully, start stapling the tacking strip in place.
Once the material is secured, fold it back over the bottom of the chair. While pulling tight against the tacking strip to create a smooth fit, staple the material to the bottom of the chair.
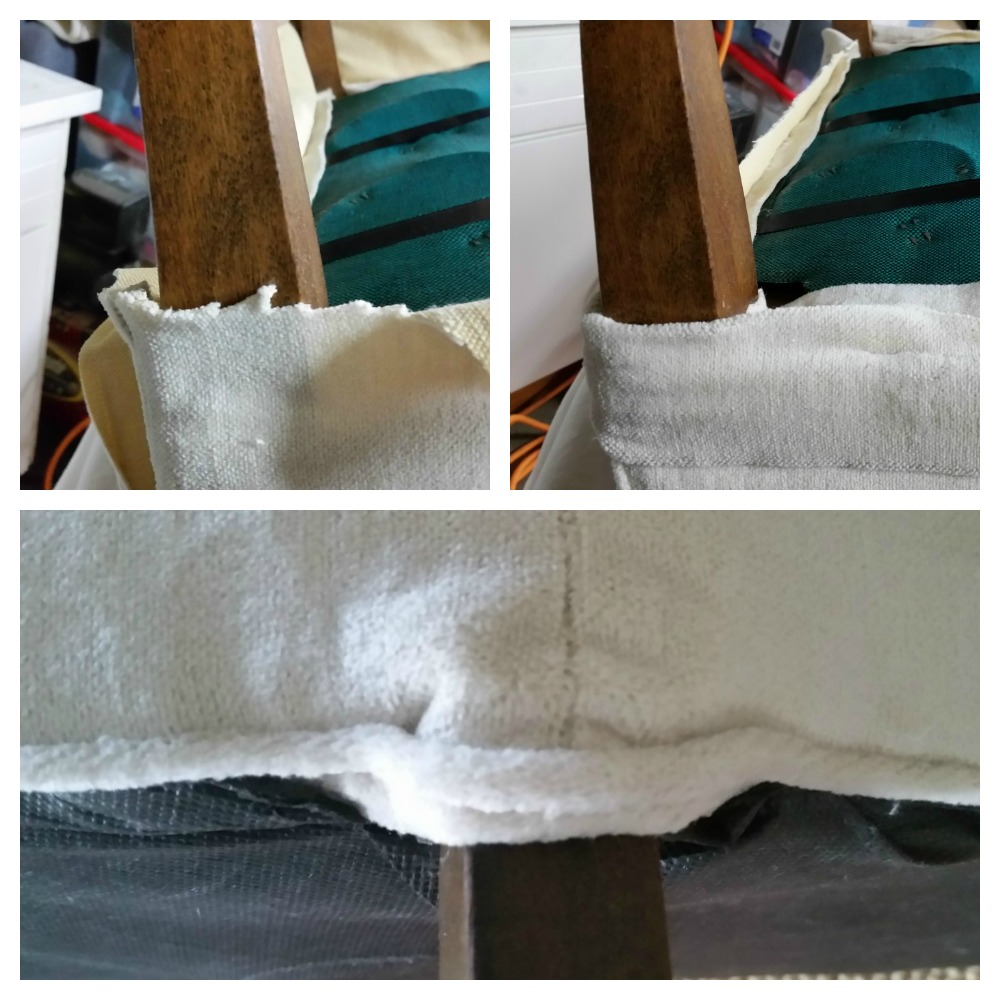
The legs on these chairs could not be removed so I had to fold and manipulate the fabric around the exposed legs. To do this, leave material a little longer around the legs so there is enough to tuck the material inside itself. At this point, leave the material around the legs unstapled.
I chose to reuse the piping as well so if doing so, take the piping and start stapling it in place around the bottom edge. Once you get to the legs, tuck the extra material of the piping under your folded edge. Pull tight and staple in place as close to the legs as possible.
Make your way around the base of the chair and overlap piping at the end.
Lastly, replace the dust cover to the bottom of the chair.
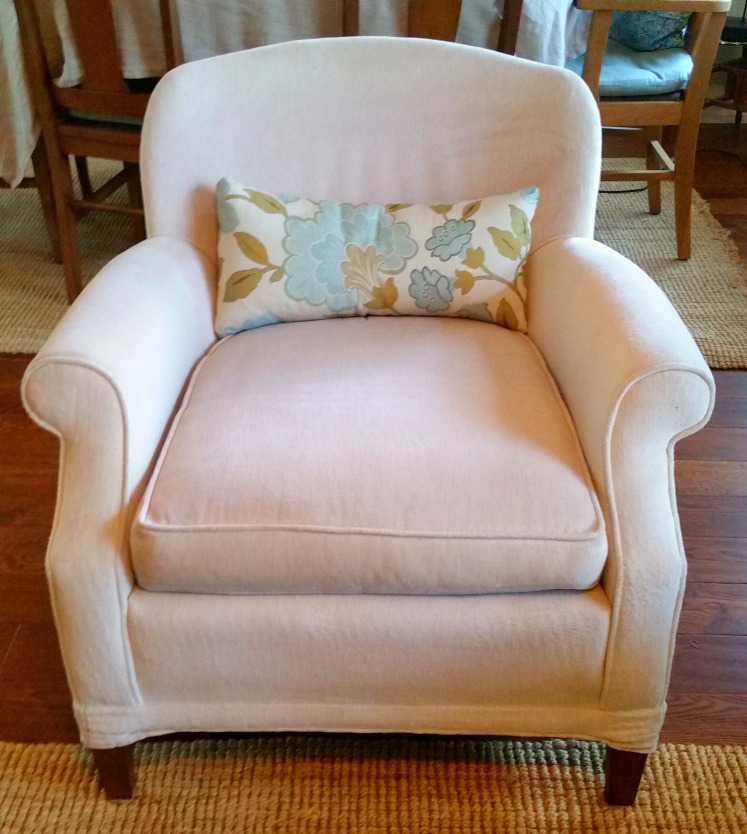
A quick and easy update to give your chairs a more contemporary look.