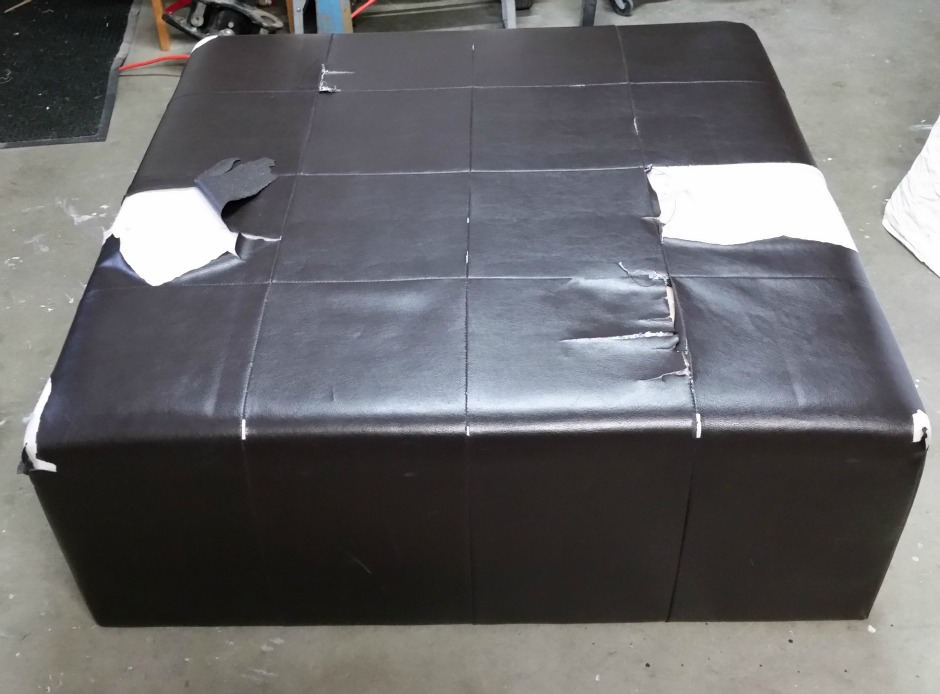
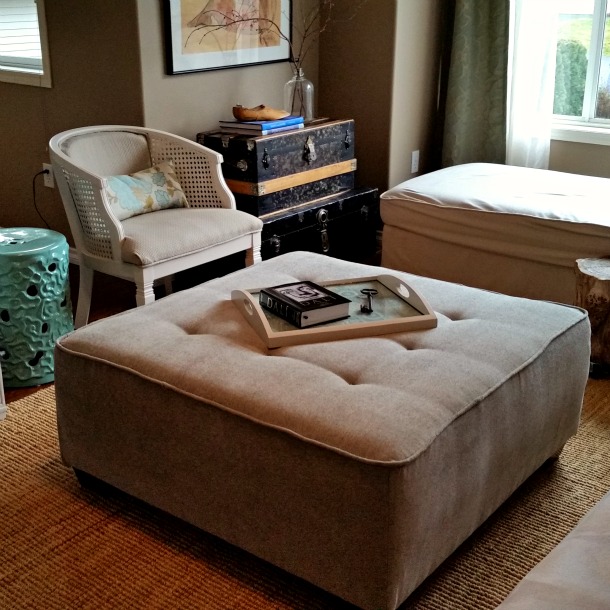
I scored this ripped up, worn out pleather ottoman for free. Geesh, I wonder why? Although the pleather material was in awful shape, the frame and legs were solid. I decided to take this hunk of massive sumpin and transform it into a more formal feminine piece by recovering it with a silvery/green chenille and topping it off with some bling bling in the button tufting.

To begin a project like this, first remove the legs from the base as well as all mounting hardware.
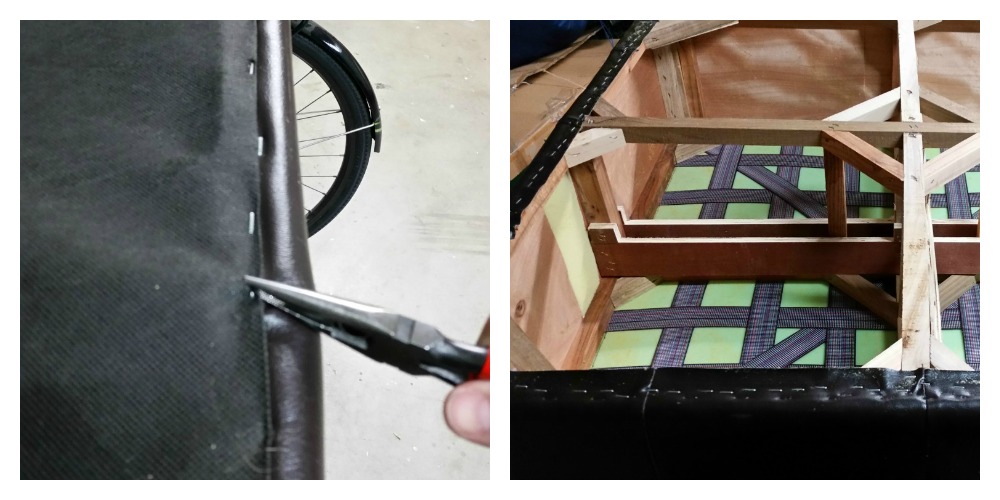
Then proceed by removing staples. There are usually oodles of staples so grab a cup and joe, crank the tunes and get ready to hunker down for a while because just when you have pulled the last staple from the dust cover, a whole new row of staples holding the material in place is exposed.
Now comes the satisfying part. Take off that old tired pleather and chuck it in the lapsap tong (a little cantonese for ya), as now we get to create a whole new look.
 Measure the top and the sides of the ottoman adding a 1/2 inch extra all around for sewing allowance. For example, if your top is 40″ x 40″ cut a piece that is 41″ X 41″. This will give you an extra half inch on all sides. I first cut the square top to size then sewed on the piping around the entire outside edge. After that, I sewed all the sides together ensuring they were a tight fit around the ottoman. At this point I laid the top material on the ottoman frame and pinned the sewn together sides to the top piece. Complete the cover by attaching the sides to the top.
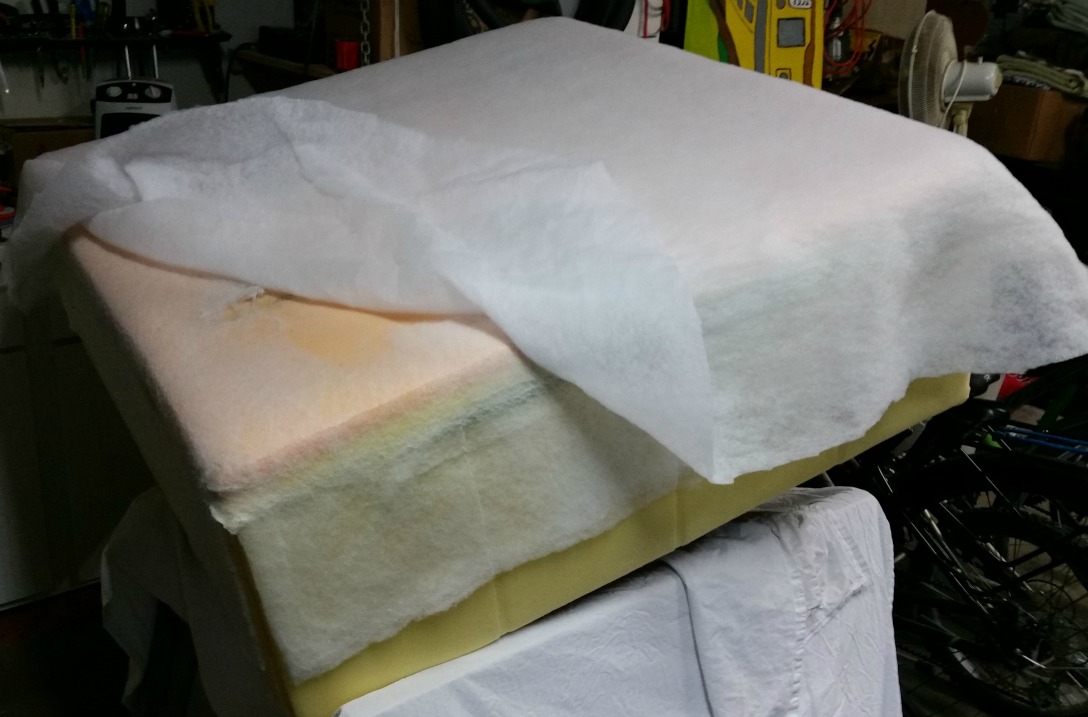
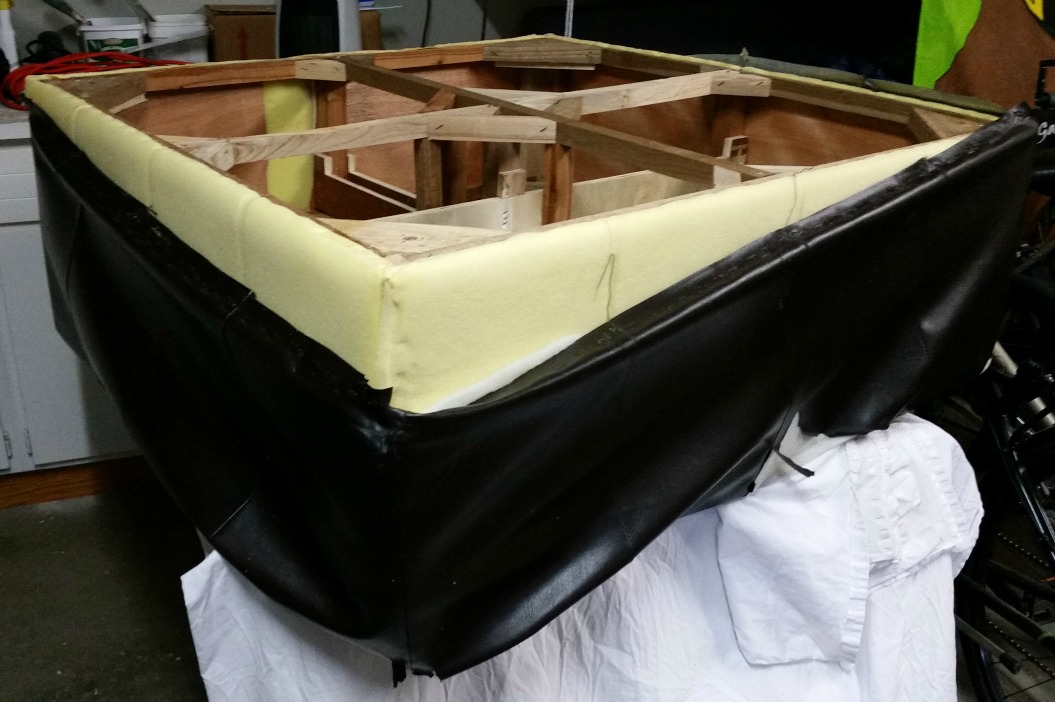
The foam on the ottoman was in good shape so I did not replace it, but the batting was a bit worn so I opted to add new. With the new batting in place, the new material can then get stapled onto the frame.
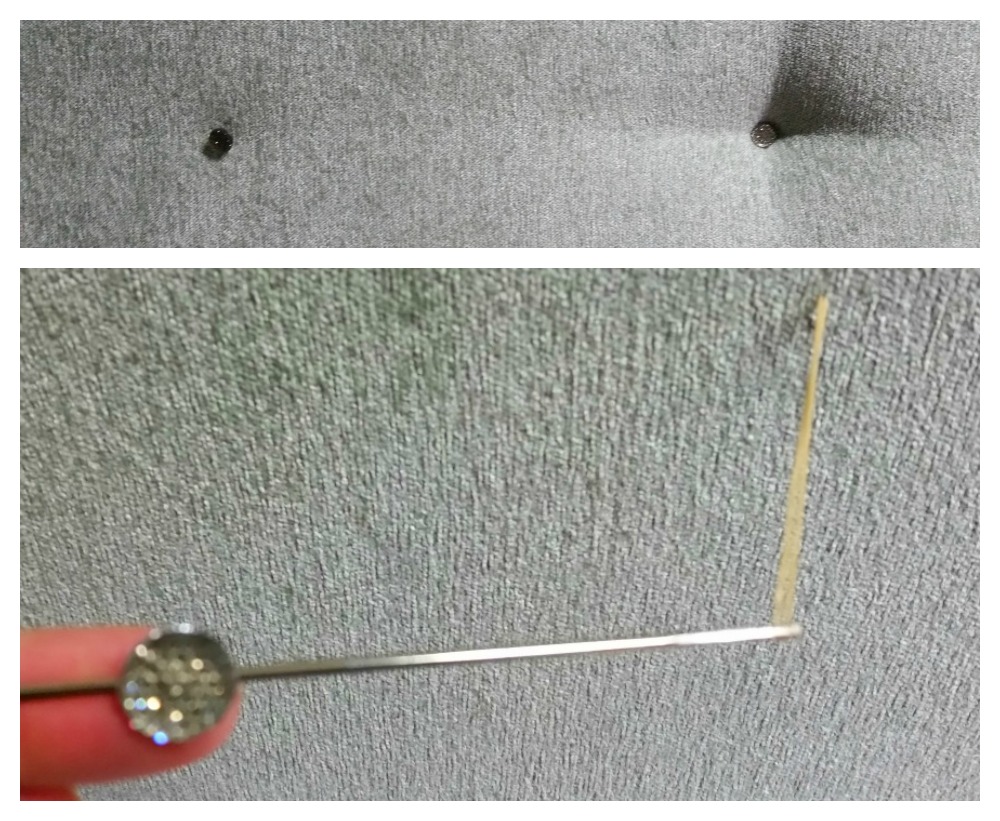
Because of the size of this ottoman I decided to break up the great expanse by adding tufting. To add tufting, you will need to fall back on some of your math skills – I know…I know! – and measure the top surface and depending on how many buttons you wish to add you need to figure out the button spacing. I like to do this on a piece of paper first as I am a visual person. Once I have it clear in my head, I measure and mark the button locations on the furniture piece. Then, using an upholstery needle and some waxed string, add the buttons in place.
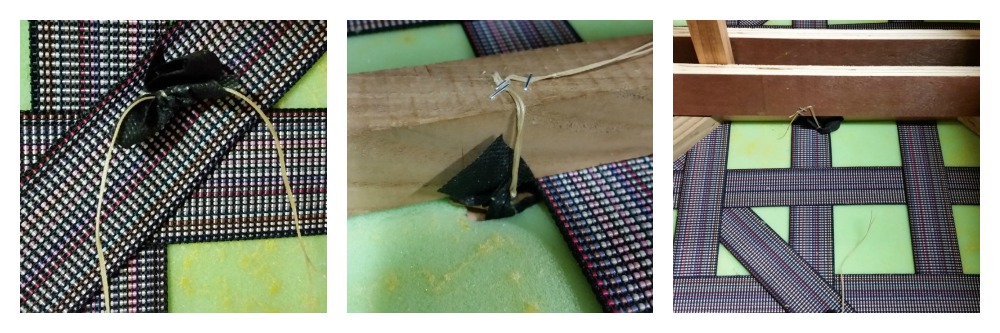
On the underside of the ottoman, tie off the waxed thread with a bit of material shoved in there. The material is there to keep the knot from pulling through the foam. Some of the buttons were simply knotted in place, while depending on location, I was able to anchor some of the buttons by stapling the string to the frame.
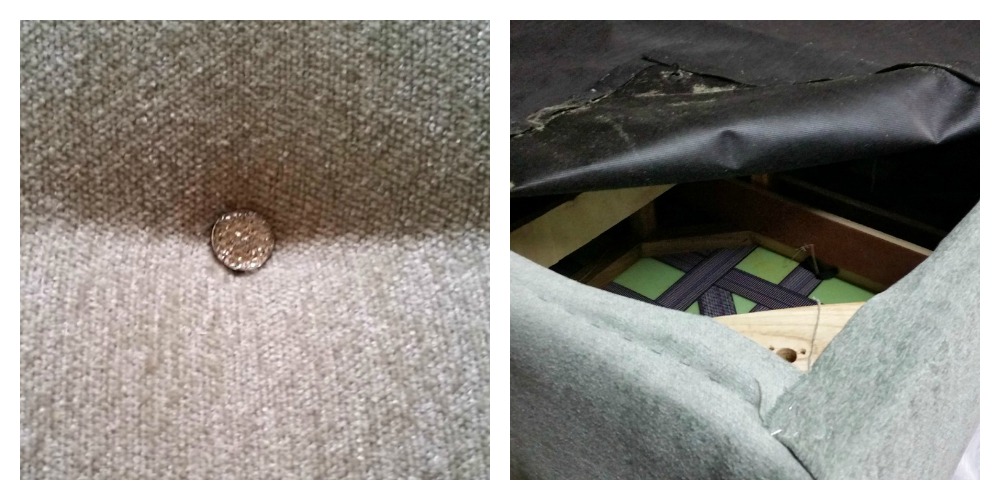
With the tufting done, the ottoman is almost complete. To finish up, simply staple the dust cover back in place, replace leg mounting hardware and pop the legs back on.
All there is to do now is find a buddy and carry this beast to the desired location. Sit down, put your feet up and enjoy.
I love it …I think I have loved everything you do ….such a talent you have.
Now that’s recycling. Great Job. Love It.